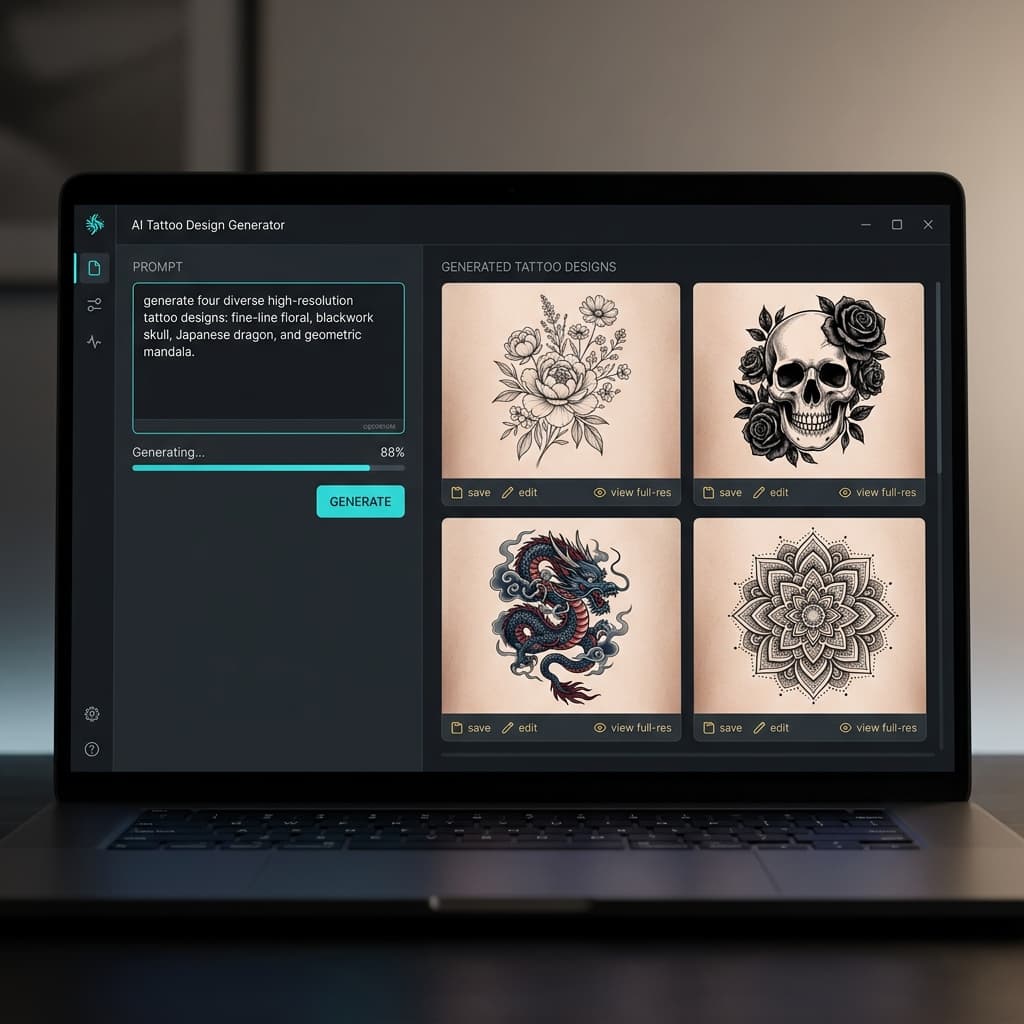
How an AI tattoo generator from text works
An AI tattoo generator from text reads your prompt the way a flash artist hears a consult: what is the subject, which style family should it belong to, and where will it live on the body? Clear answers to those three questions beat poetic but vague wording every time.
Start on the AI tattoo generator homepage or open the studio in text mode. If you still need a no-account overview, read the free AI tattoo generator guide first. Already holding a portrait or sketch file? Switch to the AI tattoo generator from photo workflow instead of forcing a weak verbal description.
After you generate, judge the silhouette at phone size and at print size. Text mode is excellent for exploring motifs—snakes, koi, mandalas, portraits—but your artist still owns needle choice, skin stretch, and final line weight. Treat outputs as consult assets, not finished medical instructions.
Prompt formula: style + placement + detail
Use a simple stack: style word, subject, placement, then one or two details (density, shading, or motif). Example spine: “fine-line / peony snake / forearm / single-needle stipple.” That structure keeps the AI tattoo generator from text focused on inkable shapes instead of soft digital paintings.
Placement words matter more than people expect. “Ribcage,” “behind the ear,” and “full sleeve” change composition scale. Density words matter for cover-ups: “heavy black fill” behaves differently from “open negative space.” When a result feels busy, delete adjectives before you add new ones—one change per regeneration.
Negative prompts can help when available: ask to avoid blurry edges, skin photorealism, or muddy midtones if you need a stencil. Pair the concept render with the outline export so your artist sees both mood and transferable contour.
Copy-ready example prompts (style + placement + detail)
Paste any prompt below into the studio, then personalize names, flowers, or script text. Each card links straight into generation with the matching style preselected.
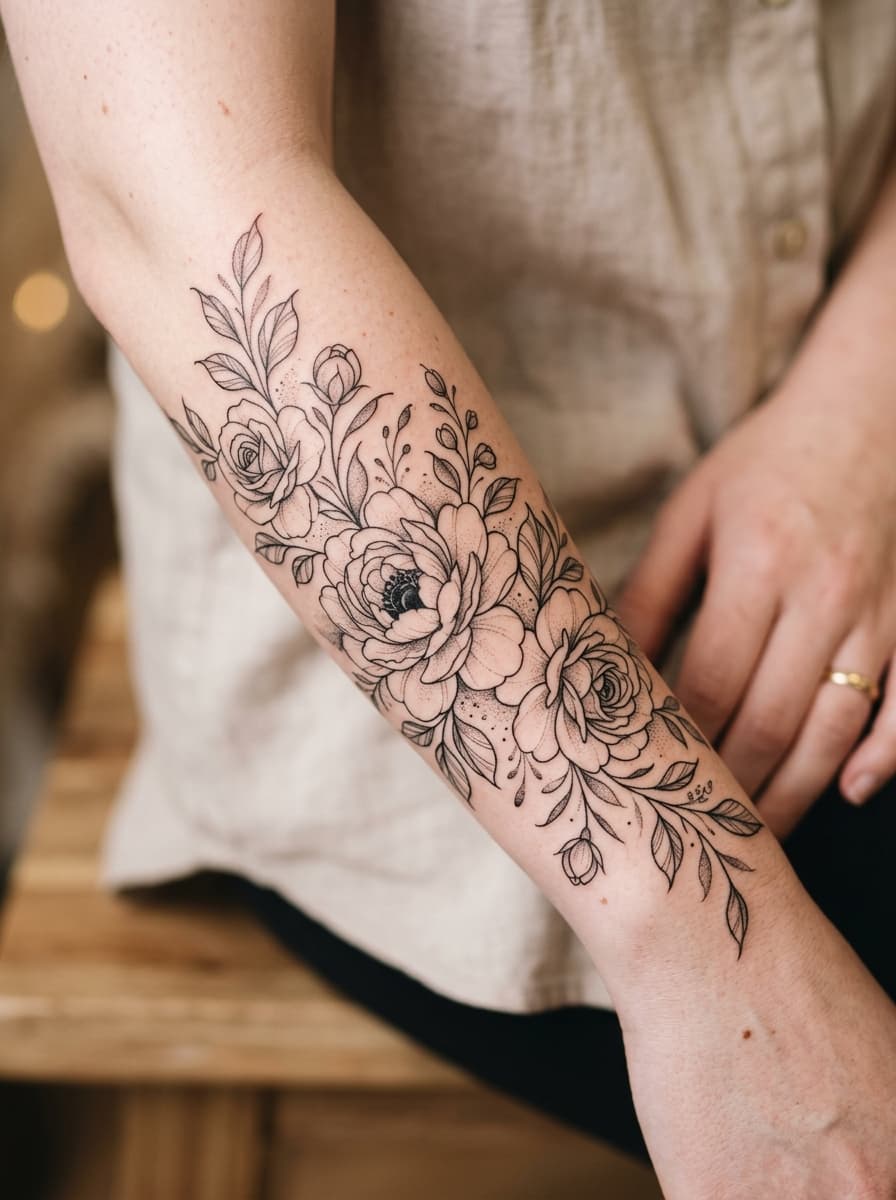 1. Fine line forearm botanical
“Minimalist fine-line snake wrapped around a wild peony with delicate leaves, forearm placement, single-needle stipple shading, clean white background”
Run this prompt in the studio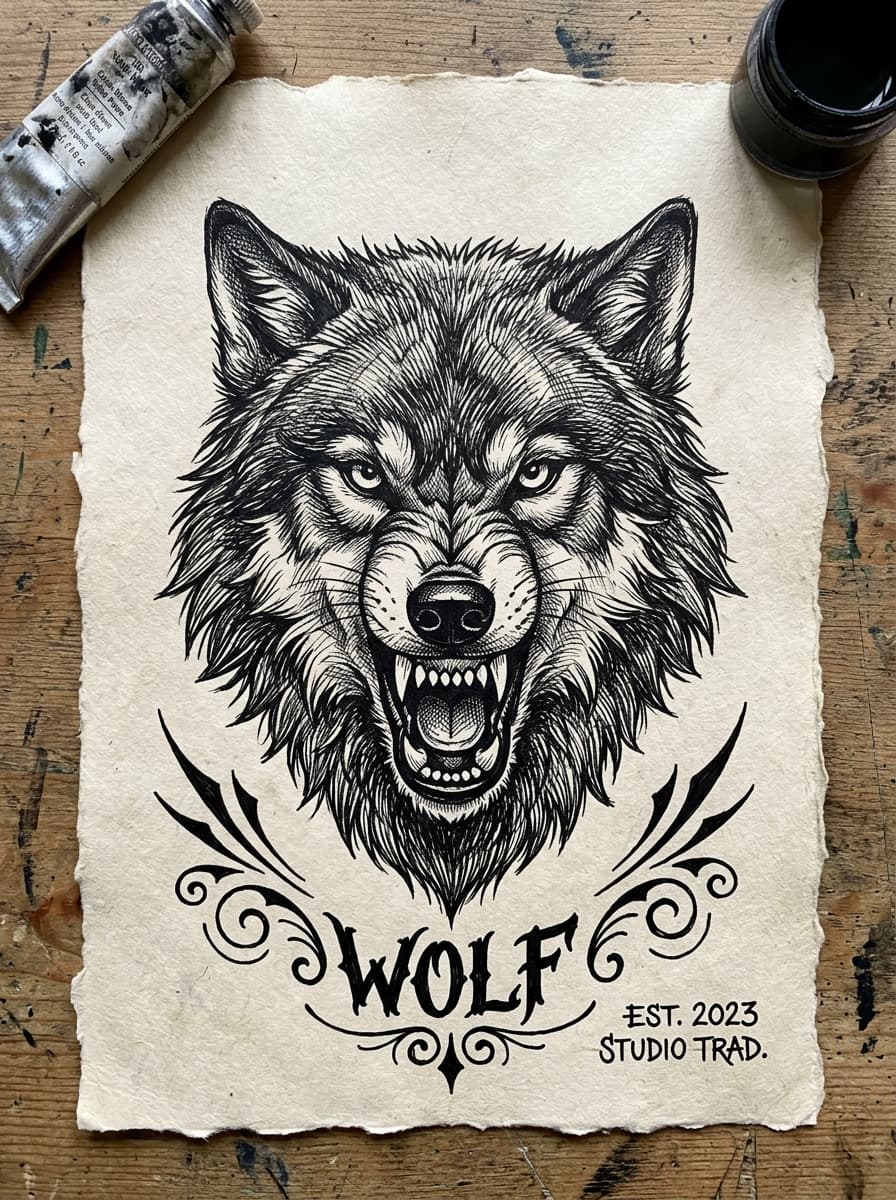 2. Blackwork shoulder cover density
“Heavy blackwork geometric skull with deep solid fill and sacred geometry arcs, upper arm and shoulder, high contrast negative space, stencil-ready outlines”
Run this prompt in the studio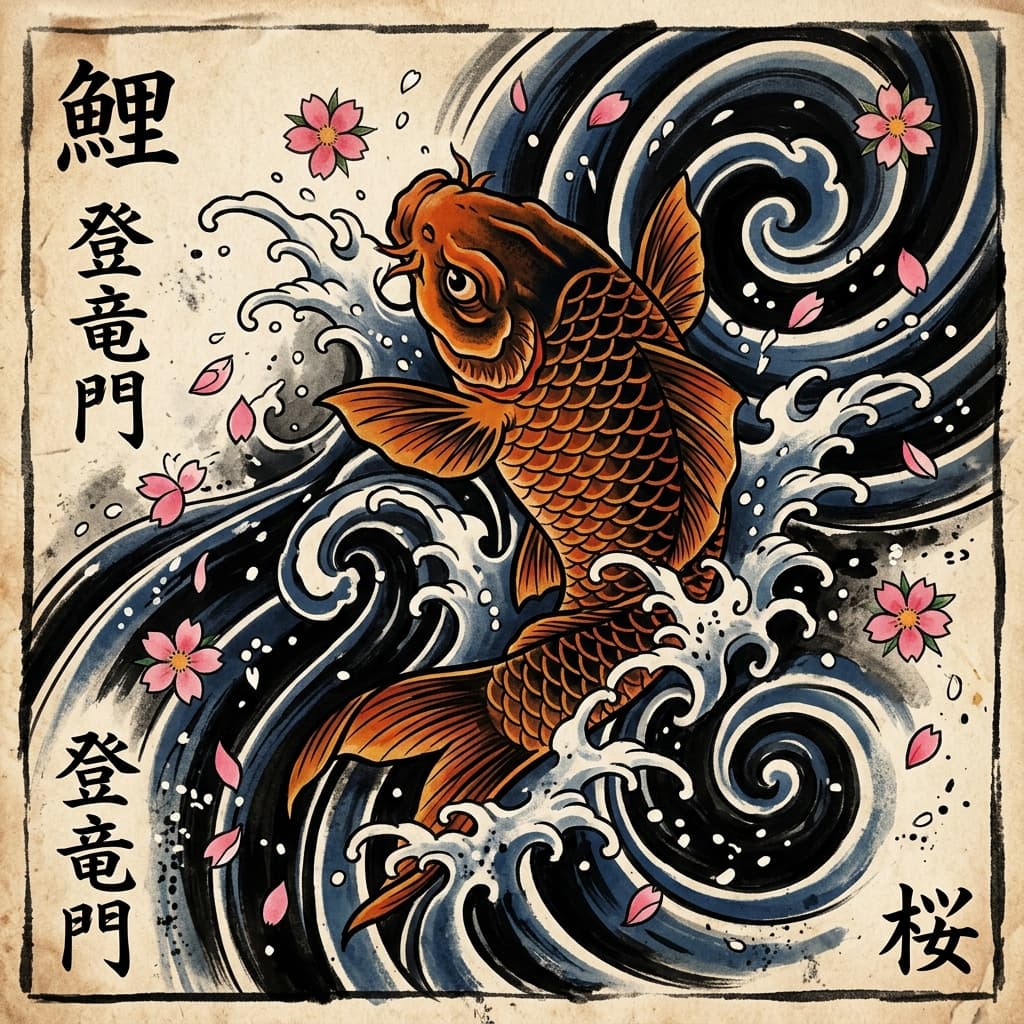 3. Japanese outer-forearm koi
“Traditional Japanese Irezumi fierce koi fish leaping through stylized dark waves and wind bars, outer forearm vertical flow, bold contour lines”
Run this prompt in the studio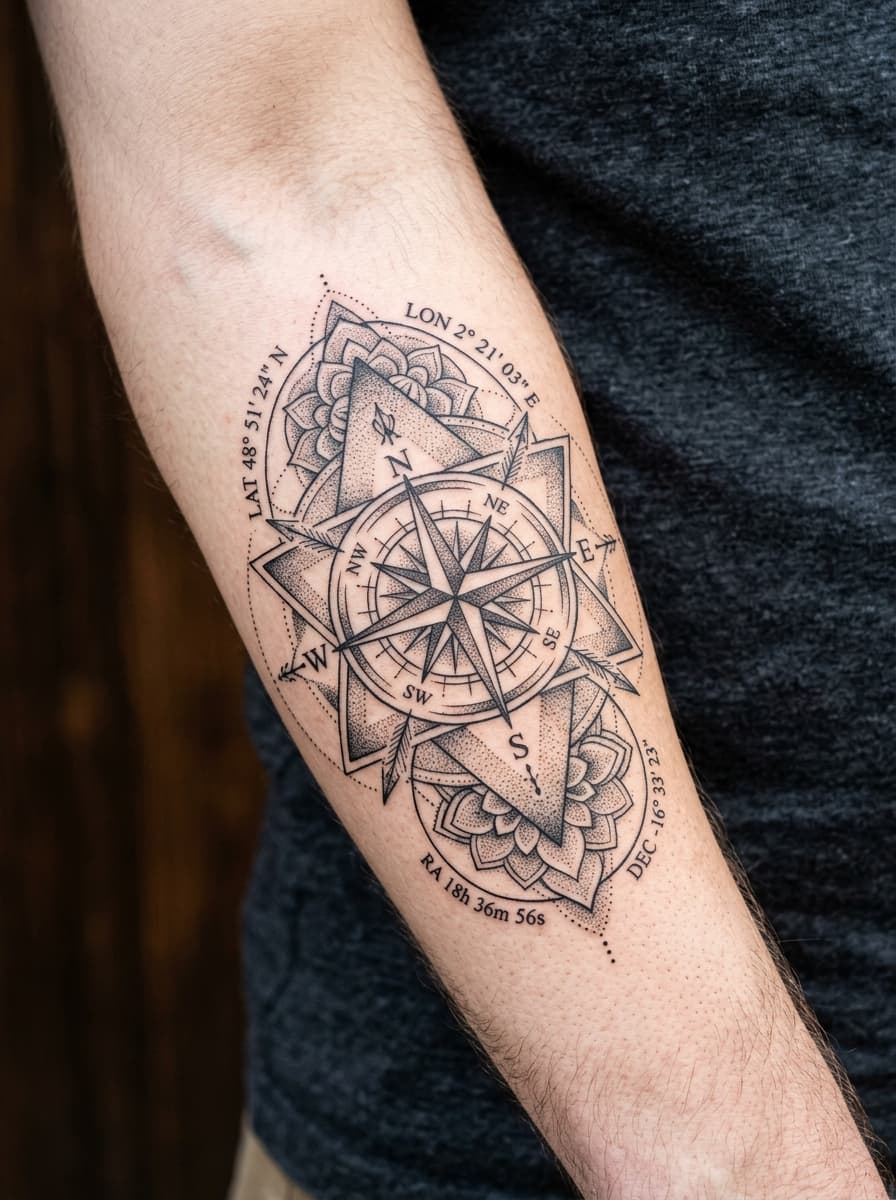 4. Geometric calf mandala
“Sacred geometry mandala compass with concentric astronomical orbit rings, centered on the calf, symmetrical dotwork accents, printable line art”
Run this prompt in the studio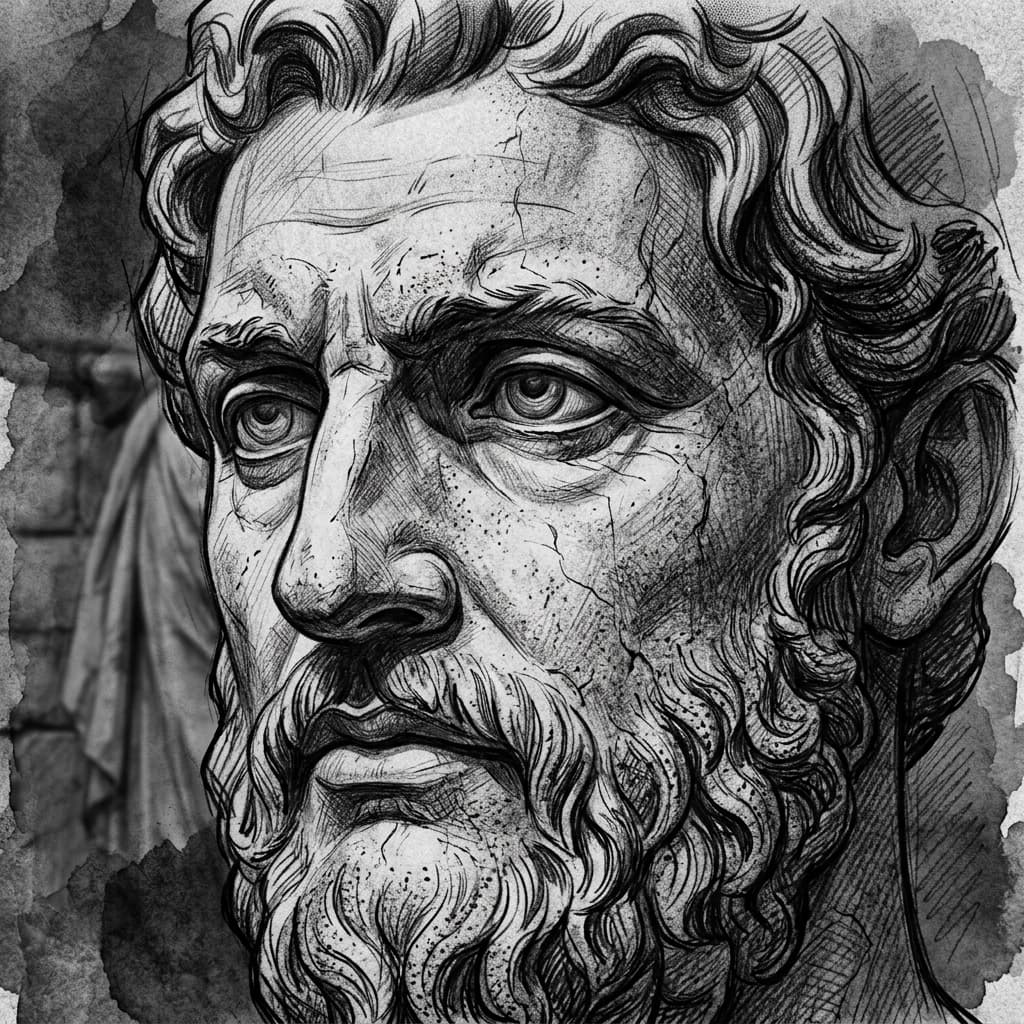 5. Realism ribcage portrait study
“Hyper-realistic black and grey marble sculpture portrait of Athena with cracked stone texture, side ribcage placement, soft focal transitions”
Run this prompt in the studio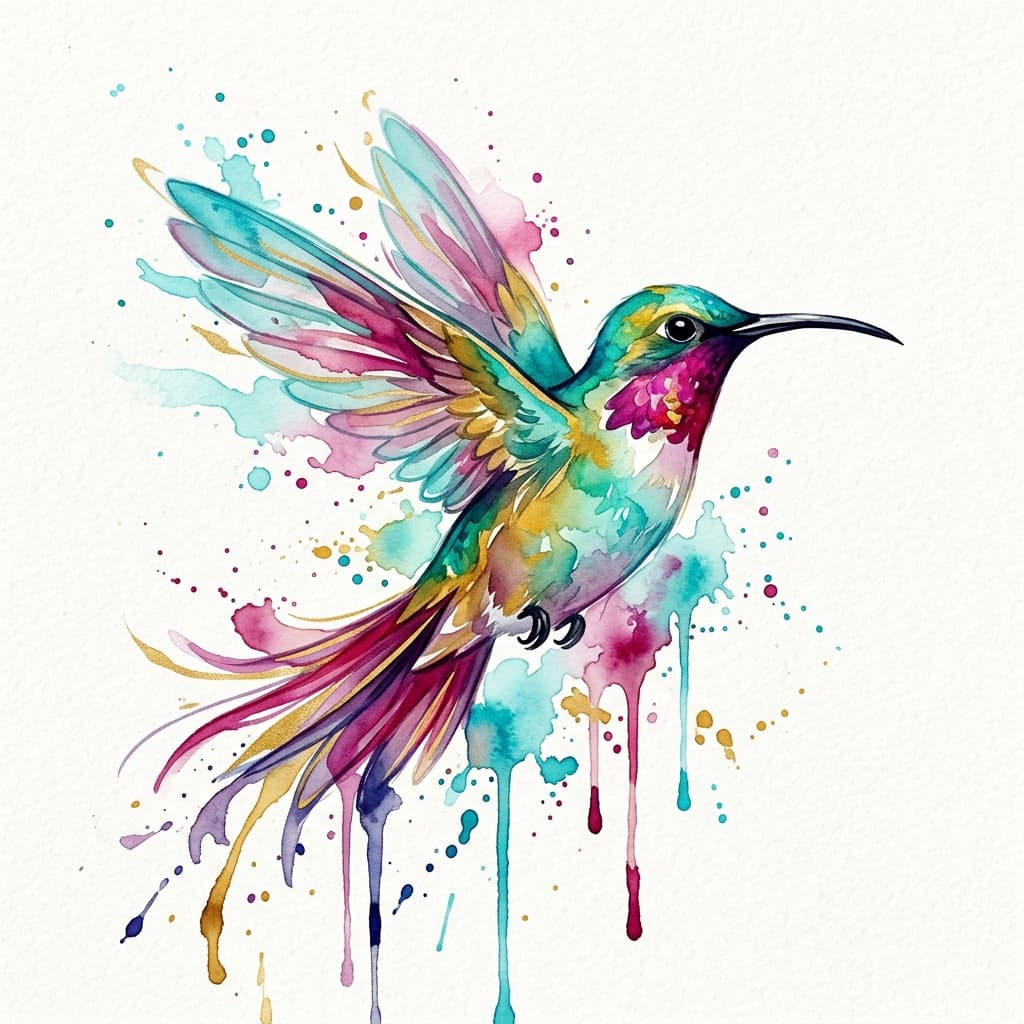 6. Watercolor wrist hummingbird
“Vibrant watercolor hummingbird with cyan and magenta splashes and floating droplets, inner wrist, loose edges with a strong silhouette core”
Run this prompt in the studio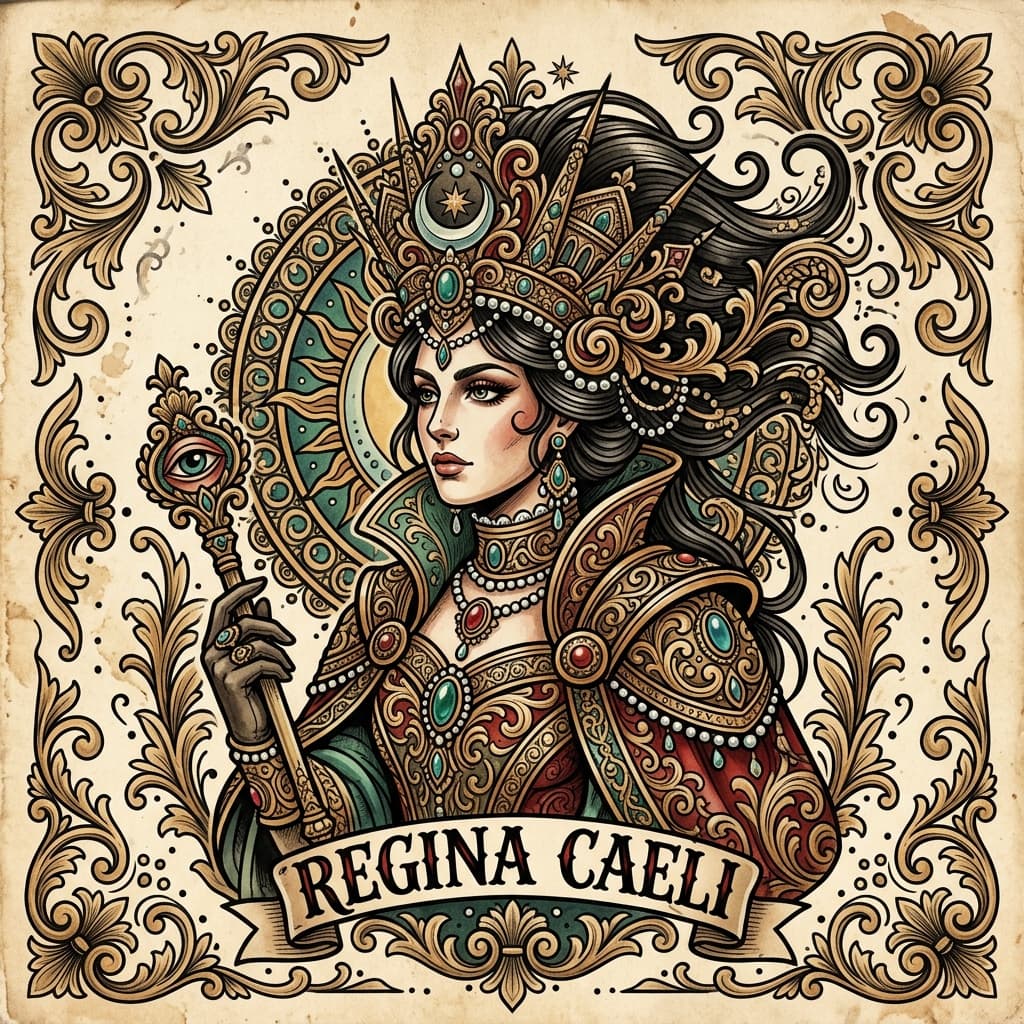 7. Neo-traditional bicep wildcat
“Neo-traditional ornate wildcat portrait with baroque filigree jewels and roses, bicep panel, varied line weights, rich but limited palette”
Run this prompt in the studio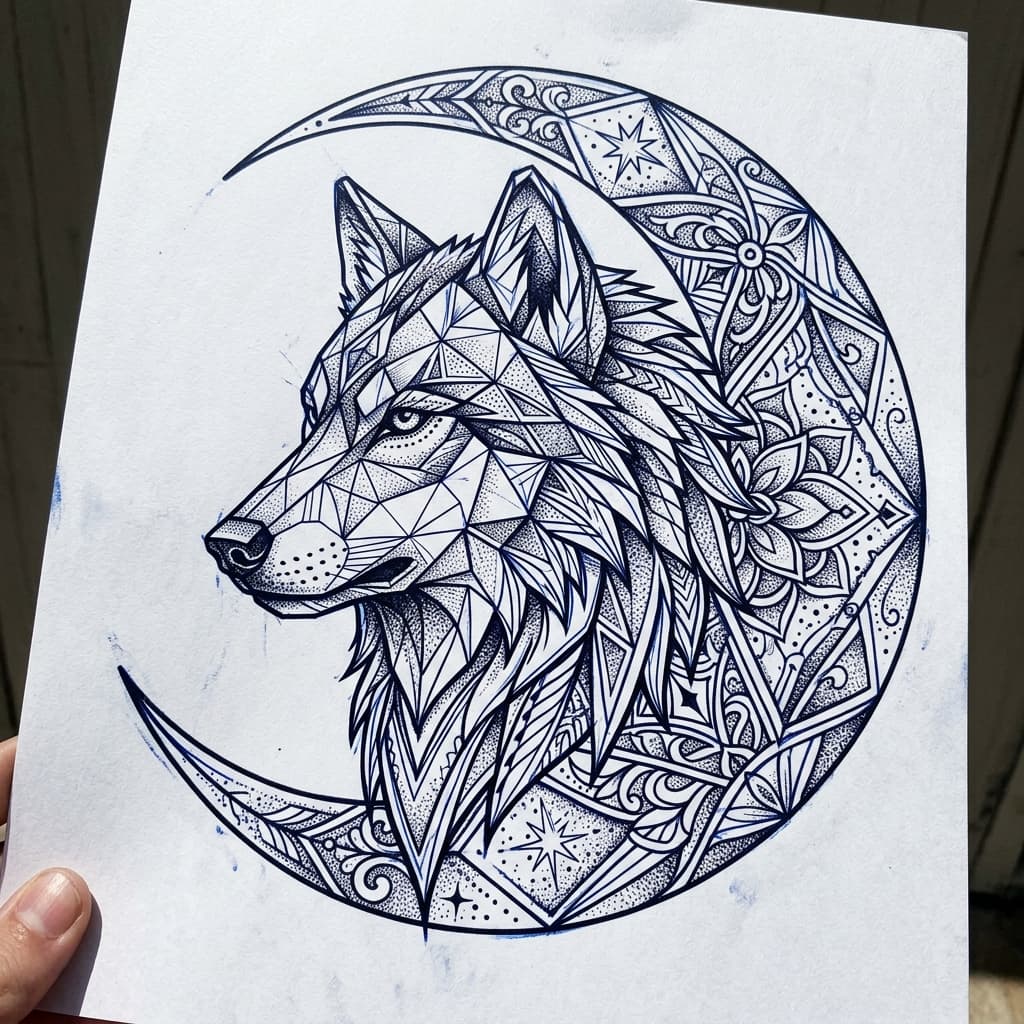 8. Dotwork moon behind the ear
“Stipple dotwork crescent moon cradle with orbiting star constellations, small behind-the-ear placement, sparse background, crisp outer contour”
Run this prompt in the studio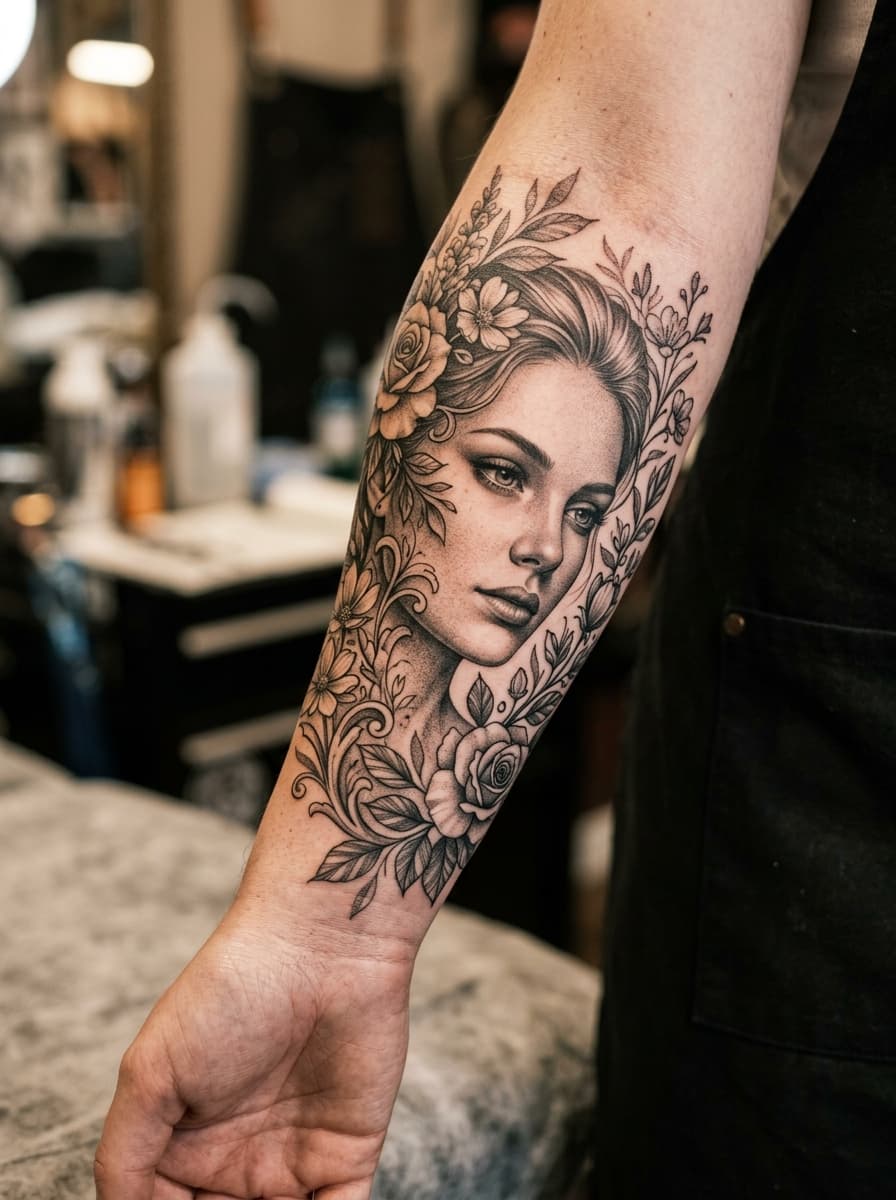 9. Chicano script banner forearm
“Chicano fine-line Day of the Dead Catrina portrait with filigree script banner reading Forever, inner forearm, black and grey only”
Run this prompt in the studio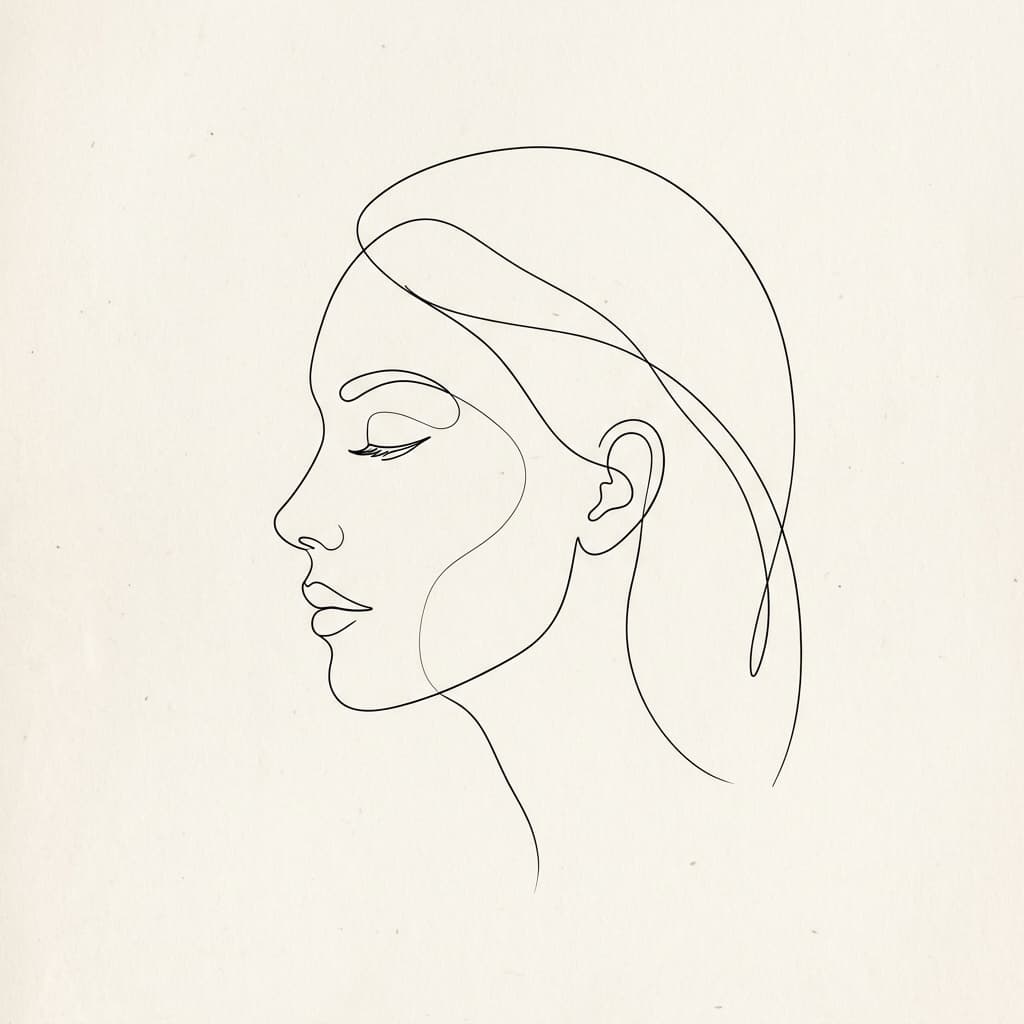 10. Minimalist continuous-line hands
“Single continuous line art silhouette of two hands reaching toward each other, collarbone placement, minimal interior detail, tattoo flash clarity”
Run this prompt in the studio
Keep this page bookmarked as your prompt mother hub. Other guides on the site—including free access and photo conversion—should send you here whenever you need wording, not when you already have a reference image.
From prompt to studio handoff
Export PNG by default. Bring the shaded concept for mood and the stencil outline for transfer. Print a one-to-one paper proof, tape it on the body area, and walk around before you book needle time. If the design collapses when it wraps a curve, regenerate with a simpler silhouette or a different placement word.
Artists who live in stencil workflows can follow the tattoo stencil maker guide for printer-oriented tips, or open the tattoo design generator when shaded custom concepts come first.
AI tattoo generator from text FAQ
What is an AI tattoo generator from text?
+
An AI tattoo generator from text turns a written description into tattoo artwork and stencil outlines. You specify subject, style, and placement in plain language, then download PNG concepts your artist can resize, refine, or print on thermal transfer paper for the session.
How detailed should my tattoo prompt be?
+
Include three parts: subject, style word, and body placement, plus one or two details such as line weight or density. Vague prompts like “cool tattoo” underperform; concrete prompts like “fine-line peony snake on the forearm” produce clearer, inkable shapes every time.
Can I copy the example prompts on this page?
+
Yes. Each example is written to paste directly into the studio. Change names, flowers, or placement words to personalize them. After you generate, tweak one detail at a time so you can tell which change improved the silhouette and stencil readability.
Should I use text mode or photo mode?
+
Use text when inventing flash from scratch. Switch to the AI tattoo generator from photo flow when you already have a portrait, pet picture, or sketch to convert. Many people draft with text first, then photograph a printout for placement tests on skin.
Describe it, then generate
Open text mode with a copy-ready prompt, or jump to free and photo guides if your starting point is different.