What photos work for an AI tattoo generator from photo
An AI tattoo generator from photo is strongest when the subject is obvious: a face with even lighting, a pet looking toward the camera, a clean hand sketch on white paper, or a flat scan of existing flash. Soft Instagram filters, neon nightlife shots, and busy street backgrounds fight the converter because edges blur into noise.
Crop tightly around the subject before you upload. If the frame includes furniture, logos, or other people, the model may invent lines you never intended to tattoo. A head-and-shoulders portrait usually beats a full-body phone selfie taken from across a room.
Prefer natural light near a window over harsh on-camera flash. Shadows that carve cheekbones or fur clumps can help; blown-out highlights that erase detail cannot. When in doubt, take two photos—one slightly underexposed—and run both through the photo studio mode.
Already exploring ideas without a file? Start on the AI tattoo generator homepage, use the free AI tattoo generator guide, or switch to the AI tattoo generator from text prompt tutorial when you would rather describe than upload.
How to improve photo-to-tattoo conversion
Conversion quality is mostly input quality. Raise contrast a notch in your phone editor so midtones separate from the background. Convert color portraits to black-and-white first if clothing or wallpaper is competing with the face. For pets, brush fur away from the edges so the silhouette stays readable at stencil size.
Inside the studio, use the stencil threshold and line-weight controls to decide how bold the transfer should look. Fine-line portraits need thinner contours; cover-up planning often needs denser black shapes. Generate more than one pass—small slider changes can remove stray hatch marks that would confuse a thermal printer.
Mentally separate “pretty render” from “printable stencil.” A soft shaded preview helps clients feel the vibe, but artists ink from edges. Toggle outline views, zoom to 100%, and ask whether a three-inch print still reads as the same subject. If the nose collapses into a blob, crop tighter or rephotograph.
Finally, write a short companion note for your artist: intended placement, max width in centimeters, and any must-keep details (birthdate numerals, a specific ear shape). Pair that note with the PNG from your AI tattoo generator from photo session so the consult starts with facts, not guesswork.
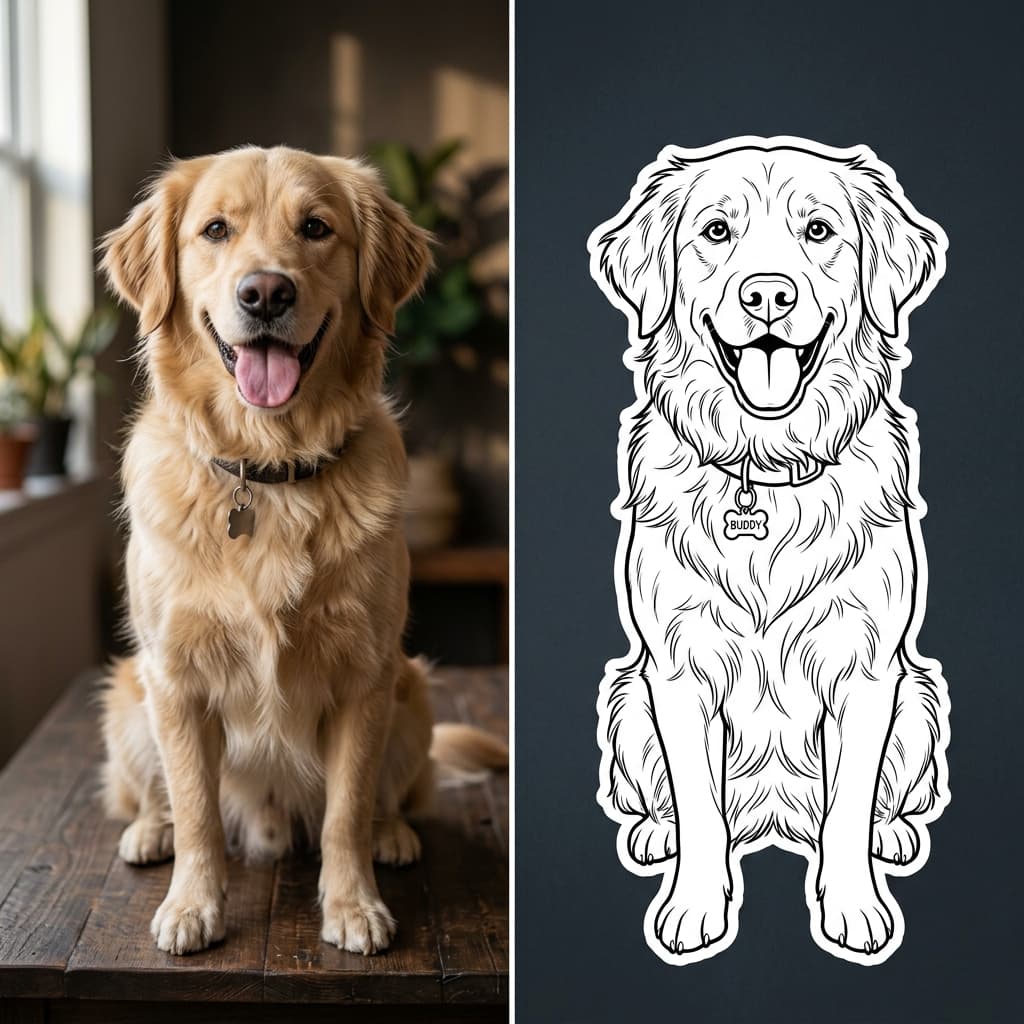
Before and after: photo reference to stencil-ready output
Below is a simple before/after pairing: a photographic reference mood on the left, and a cleaner stencil-oriented line treatment on the right. Real sessions will vary by subject, but the goal is always the same—preserve identity while simplifying for ink.
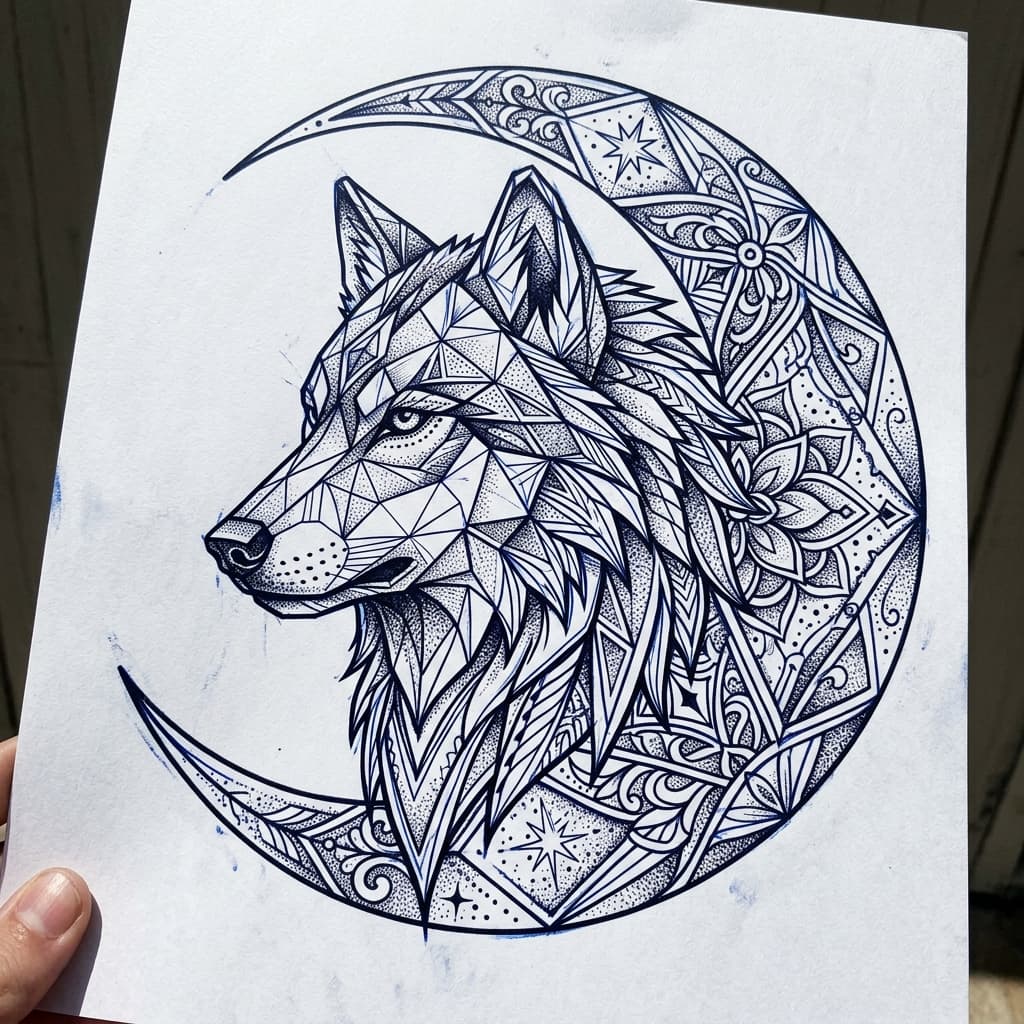
Output formats and how to use them at the studio
Exports default to PNG so edges stay crisp when you zoom or place the file on a transparent canvas. Bring both the shaded concept and the stencil outline to your appointment. Artists often print the outline on thermal paper, then glance at the concept for shading intent.
Scale on paper before you scale on skin. Print a one-to-one proof, tape it on the body area, and walk around. A design that looks balanced on a phone can feel oversized once it wraps a forearm. Adjust in the studio and regenerate if the silhouette breaks.
If your shop cares most about printer workflows, bookmark the tattoo stencil maker guide. The photo mode PNG is already enough to start a professional conversation—and far better than a cropped social-media screenshot with compression artifacts.
Cover-up clients should photograph the old tattoo in flat light, include a ruler for scale, and generate denser overlays rather than fine filigree. Sparse linework rarely hides saturated black ink; blackwork or Japanese density usually fares better after an artist reviews heal photos.
AI tattoo generator from photo FAQ
What is an AI tattoo generator from photo?
+
An AI tattoo generator from photo converts a reference image into tattoo-oriented artwork and high-contrast stencil linework. You upload a portrait, pet photo, or sketch, then export a PNG outline your artist can resize or print on thermal transfer paper.
Which photo files work best for conversion?
+
Well-lit, sharp photos with a clear subject and simple background convert most cleanly. Avoid heavy filters, motion blur, and busy crowds. PNG, JPG, and similar common formats are fine; higher contrast usually yields sharper stencil edges for thermal printing.
Will the stencil match my photo exactly?
+
The goal is an inkable interpretation, not a one-to-one print of every pixel. Soft gradients become line weights and negative space. Your tattoo artist should still adjust taper, scale, and placement for skin stretch before any permanent session begins.
Can I start from a photo and still edit with text?
+
Yes. Many people convert a photo first, then refine the idea with style notes or switch to the AI tattoo generator from text guide for prompt wording. You can reopen the studio photo mode anytime to regenerate with tighter contrast.
Convert your photo next
Open photo mode in the studio, or keep reading the free and text guides if you are still gathering references.